
Perch Lake Lumber CO. #5
Layout Rebuild
Under Constreucion 5/26/23
Updated 11/20/25
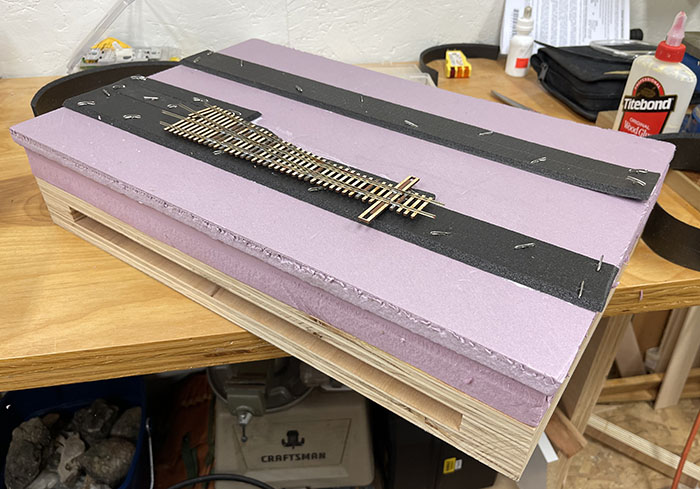 Building a full-size model of the shelf to design the under table turnout control mounting parts.
Getting a turnout control hole vertical thru 9, 1/4s of plywood and 2" of foam is a problem. I have drilled a 1/8" hole down as vertical as I am able and then drilled up from under the plywood with a 7/8" drill to the foam. The plastic mount will hold a set of brass tubing and the piano Wire to operate the turnouts from the switch machines.
Many plans and tests of the mounting system for control of the turnouts was done on this model. The result was that the length of the wire run from below the turnout to the under layout mount was to long. The wire would twist over the length requiring more than 180 degrees of movement below the layout to move the points on a turnout. That idea was out of the question.
I went ahead and built the layout with my hand made turnouts and the foam roadbed.
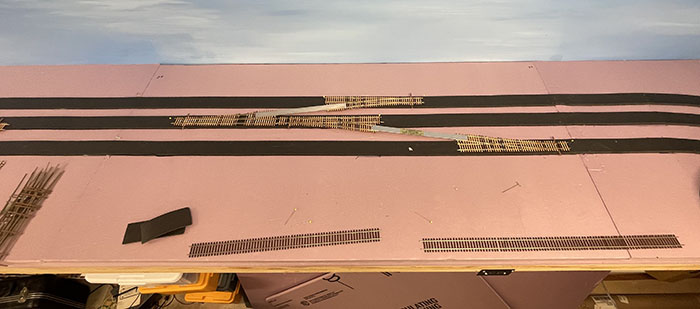
After the roadbed was installed the turnouts were aligned and installed on the foam.
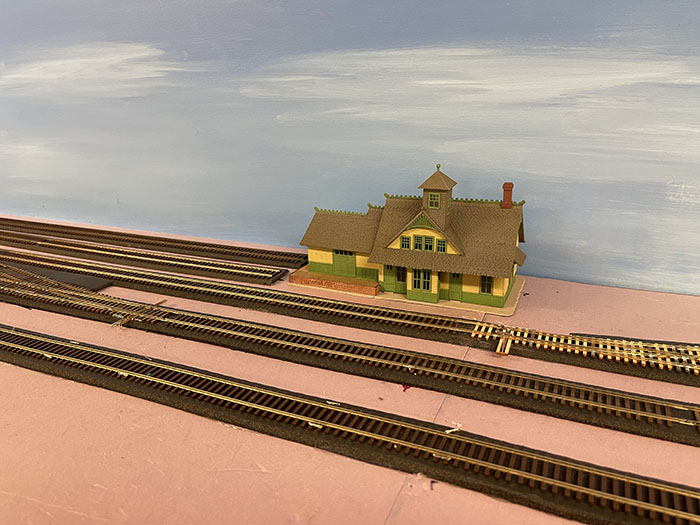
The Layout was built as planned and turnouts were installed for ground throws.
Pins held the flex track in place before it was glued to the roadbed.
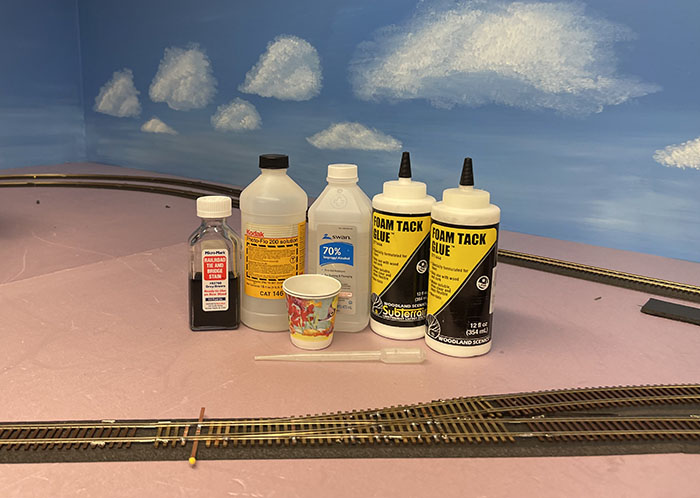
Here are some of the solutions used to glue the flex track to the roadbed and to stain the wood of the turnouts.
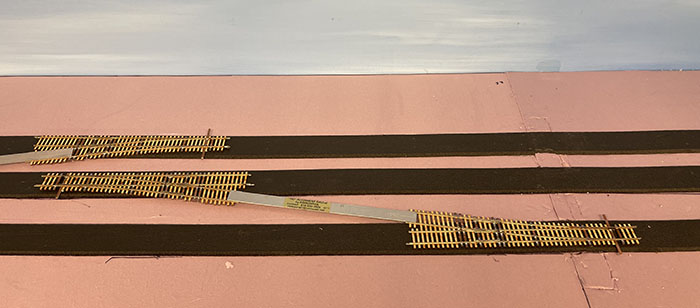
Frequent temperature and humidity changes caused misalignment in most of my 27 turnouts. To address this, I tried Walthers Code 83 turnouts, which matched NMRA standards and my handmade turnouts except for a one-inch extension. While these new turnouts fixed alignment issues, they sometimes required adjusting surrounding track sections or roadbed.
After replacing all layout turnouts, operations improved and weather changes no longer affected track alignment. The Walthers turnouts also feature springs to hold points in place without extra hardware.
I've since added more sidings for rail-served industries and continue to expand the layout with additional track and turnouts.
Seventeen new turnouts use Tortoise switch motors, connected as usual through half-inch holes in the roadbed and shelf.
Continued in Section 6, (Click here)
Return to the start(Click here)
Return to Paul's Workshop (Click here)
Join us in the “Greatest Hobby” as a member of the TLMRC.